For our music video we will be using Adobe Premiere Pro CS6. We have not yet used this software and we had to quickly adapt to this change and learn how to use the more complicated system.
I experimented with our test footage to firstly see if we could create the effect that was required for the shot and secondly to practice using the software and learning how to create basic effects and cut and movie clips.
Our first problem with the system was that when we transferred the clip, the video was zoomed in and we couldn't see the full screen. However, I learnt to fix this I had to right click the clip and select 'Scale to Frame Size'.

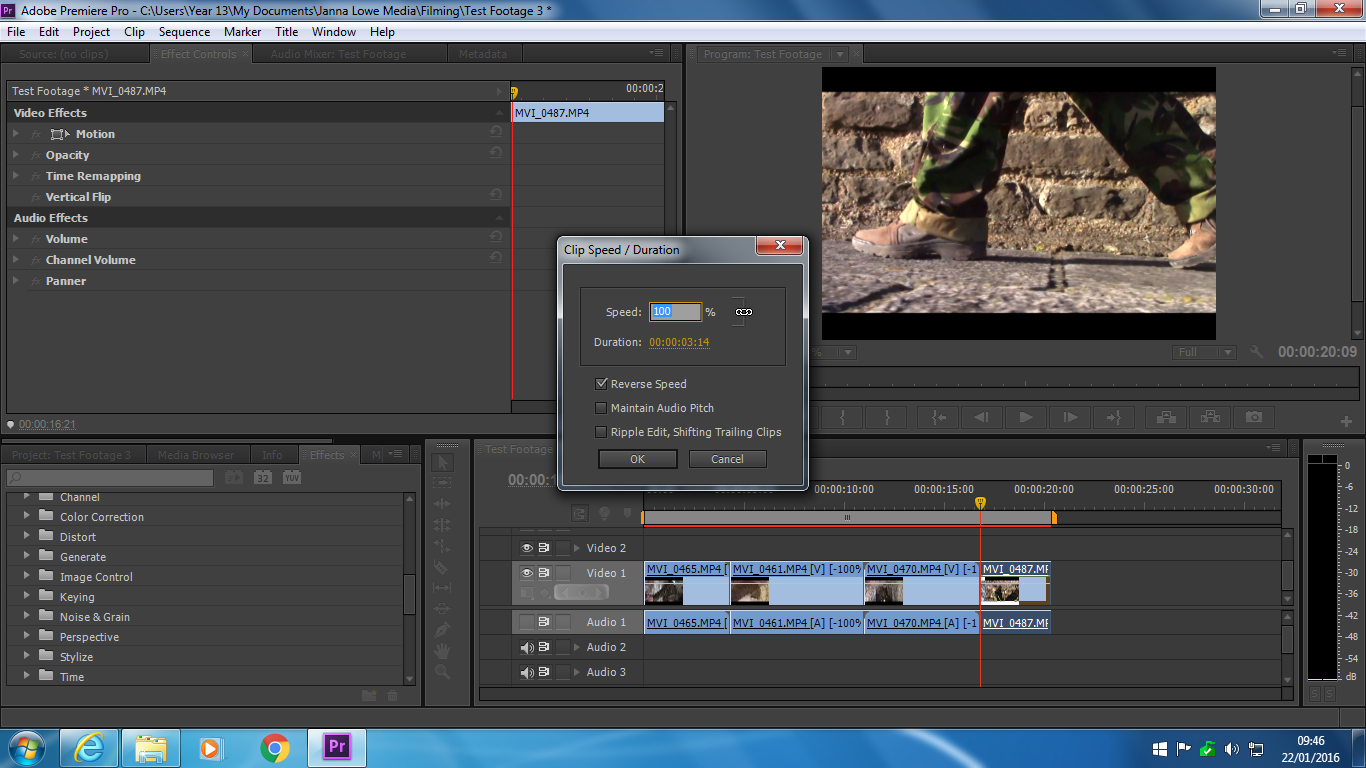
To create a Time Lapse I had to increase the frame rate per second to help increase the speed of the shot. I first selected the clip and right click it. I then clicked 'Speed/Duration' and changed the speed accordingly.
Also in the option box, we had the option to reverse clips which is required for later sequences.
I also then had to learn how to make the shots black and white for the soldier's scenes and how to increase the contrast. Firstly, I dragged across the 'black and white' effect the 'Brightness & Contrast' from the side box onto my clip in the right box which added the effects. By clicking on 'Effects Controls', I could then alter these accordingly to get the effect I wanted.

No comments:
Post a Comment